Your cart is empty
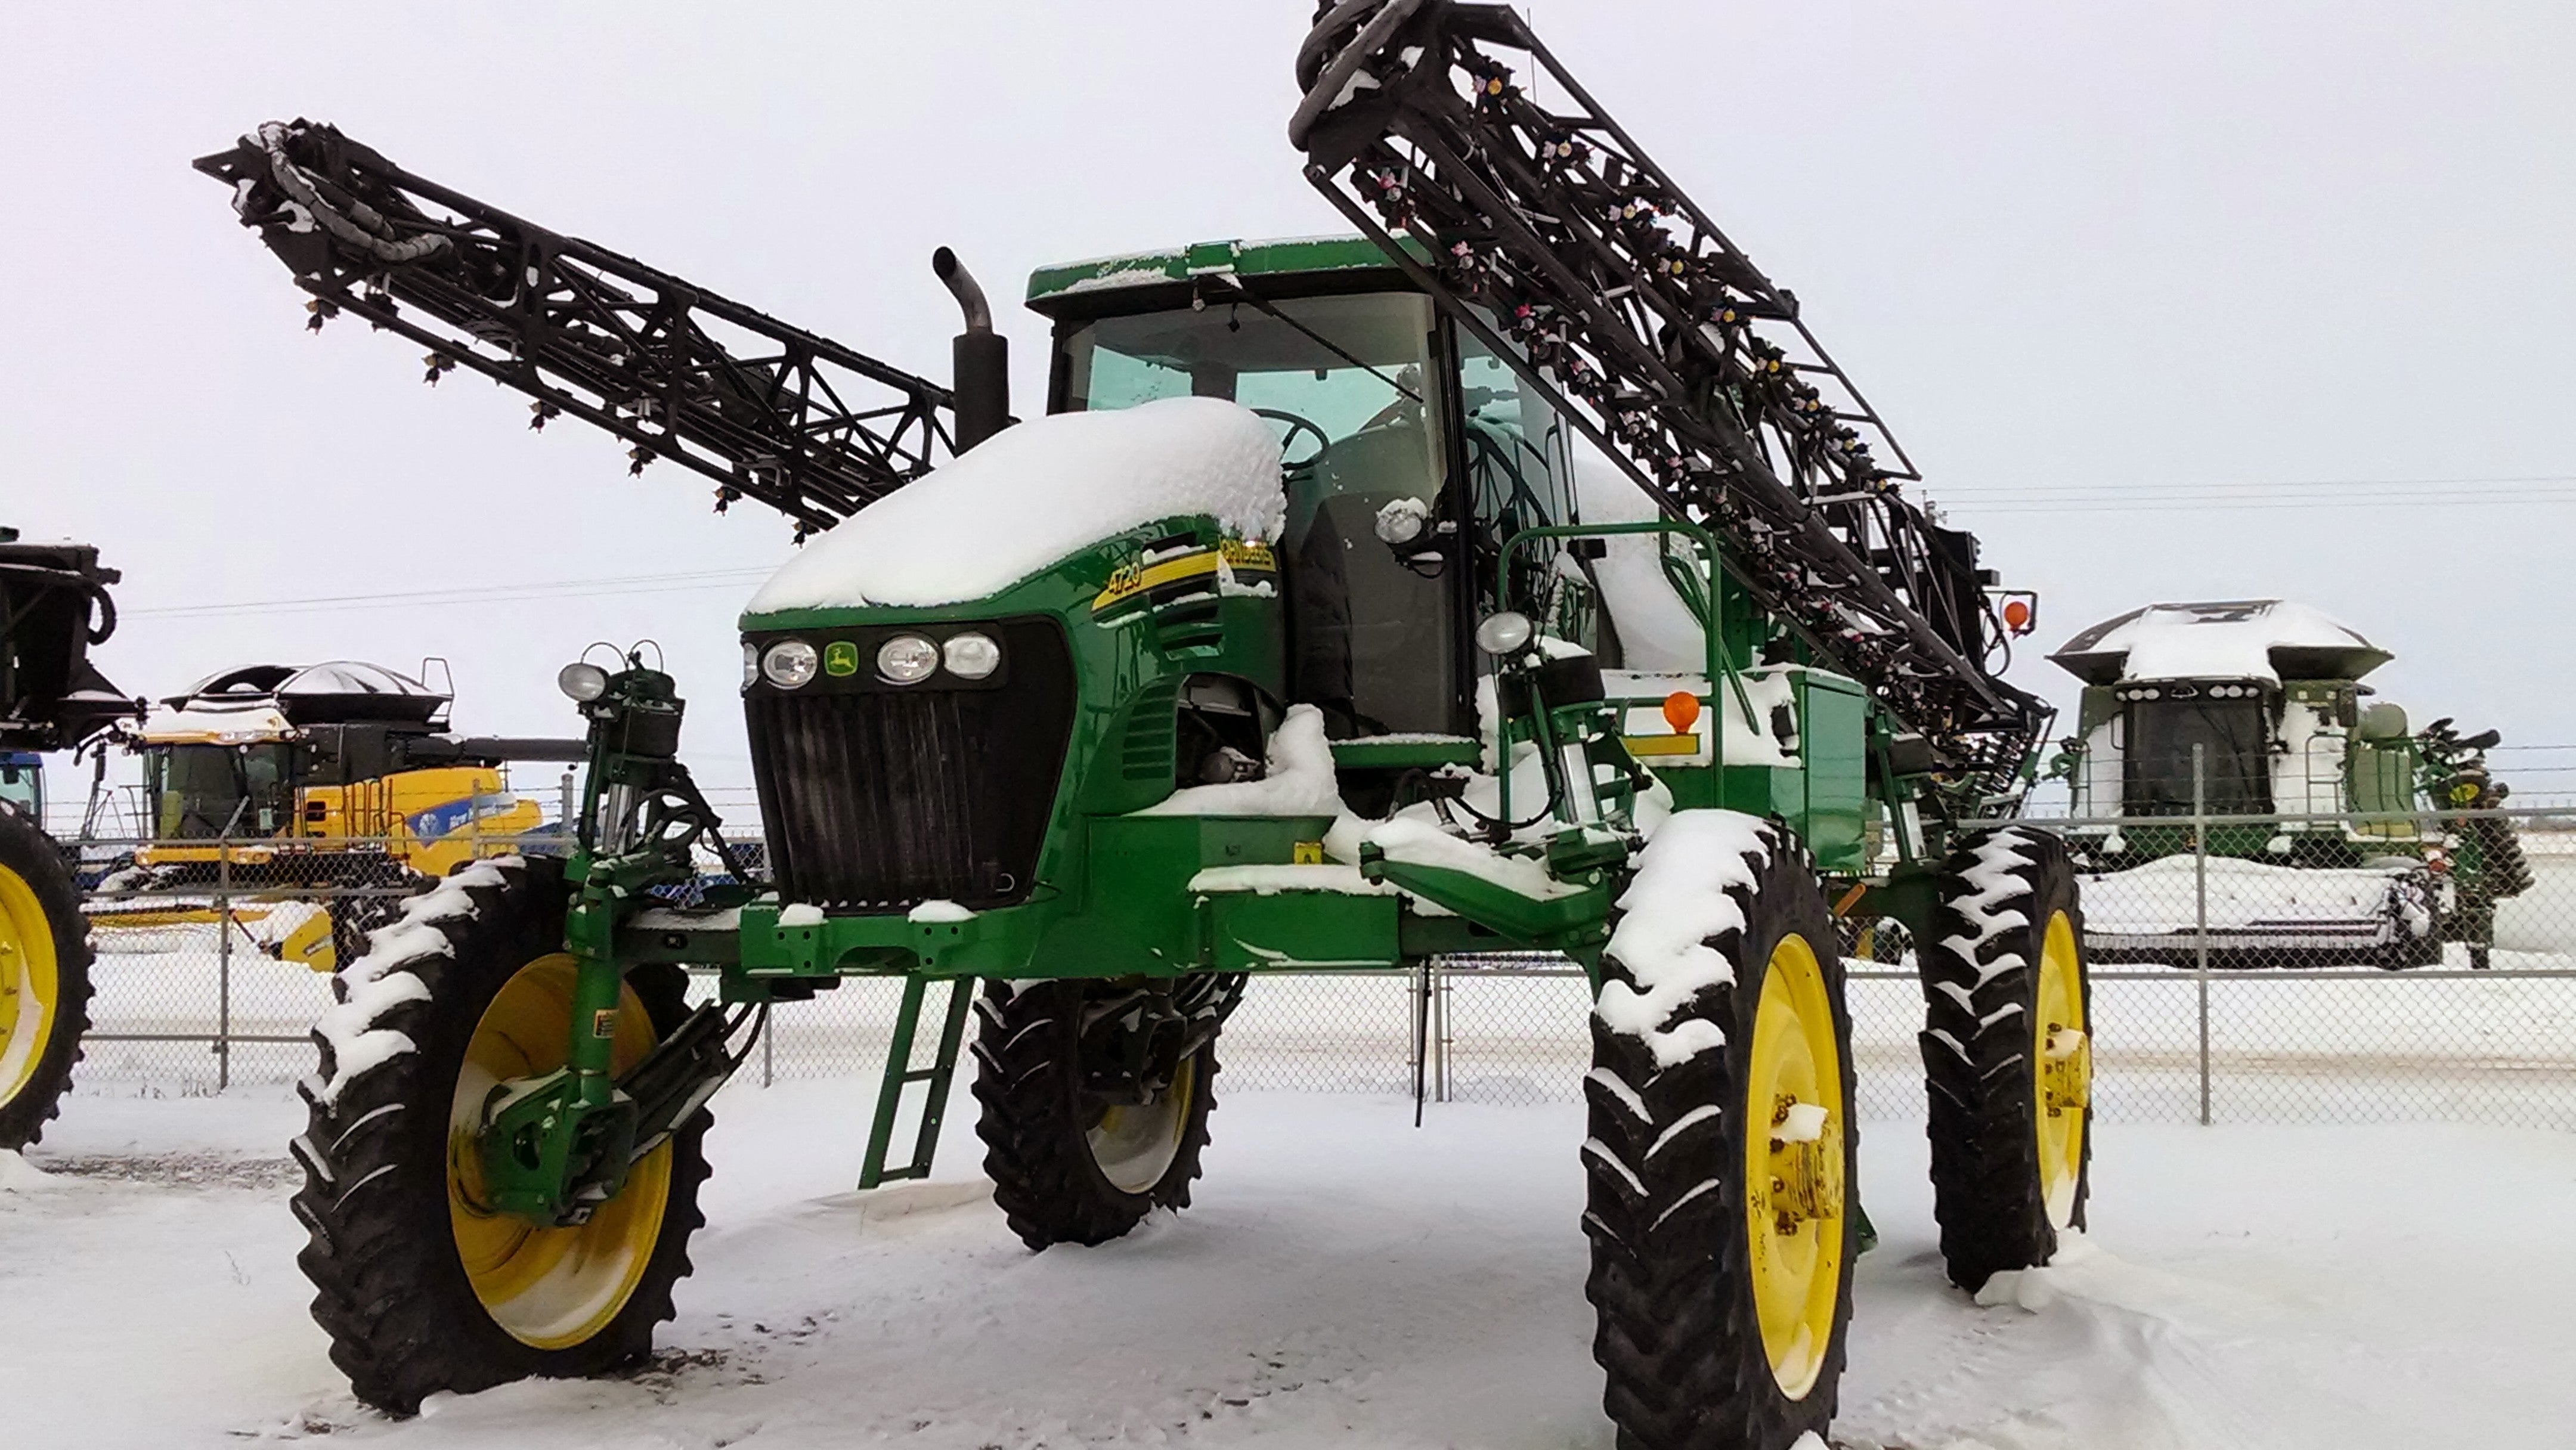
Sprayer Winterizing Tips to Save You Time and Money
The time it takes to get the sprayer field ready in the spring and how much money it costs depends on how good of a job is done putting it away for winter. The basic winterization process of a sprayer is not much different than doing a thorough clean-out. This can be simplified down to following steps.
Always use proper PPE and have a thorough understanding of what components are contaminated and with what. Also know your plumbing systems to identify potential connections that are under pressure to prevent accidental contamination or injection injuries.
These Six Basic Steps Outline The Winterizing Process
-Rinse off sprayer exterior to make it easier to work on without contamination or fighting mud and dirt getting into sensitive areas
-Flush all the plumbing thoroughly cleaning out trouble spots
-Drain the plumbing low spots and dead ends
-Add Winterizer fluid and circulate through wet system to prevent corrosion and seals from drying up
-Thoroughly wash the sprayer exterior and interior and add protective coatings where applicable
-Remove sensitive touch screens and disconnect/remove batteries
Here are some things to watch for and some sticky spots to pay attention to for the best startup in the spring. As you are going through the process take note of what components may need attention on the machine prior to spring as you can often save money getting them taken care of over winter.
Flush The Plumbing Thoroughly
I have talked to guys that have not done a rinse from fungicide season through to the end of post harvest. From how often i have heard this it likely happens more often than anyone would think. Fungicides are great for collecting in dead ends and gumming up flow meters, strainers, nozzles, nozzle bodies, and even pumps. This build up may go unnoticed through the rest of the season but can add up to problems in the future. No one wants to deal with sticking/leaking nozzle bodies or the dreaded grey boom sludge in the spring! It is also important to get any solids out of the strainer cups, nozzle bodies and nozzles before storing the machine as it will only get worse over winter. The great thing is you can usually drain most of the trouble spots on the machine while inspecting the cleanliness of the plumbing.
Things to watch for before/after performing a year end rinse
- Use pressures >90psi and make sure all restriction valves are open for best cleaning results
- Clean one boom section at a time
- If the sprayer has not been used for over a week flush the booms lines before spraying out the nozzles
- Use quality tank cleaner and flush well
- Note Spray Pattern out of each set of nozzles and flag any irregular patterns for further inspection
- Make sure all nozzle body positions are flushed
- Remove check valves and diaphragms from nozzle bodies and inspect for build up inside the nozzle body. This will be most noticeable at the end of boom plumbing sections
- Remove filter caps and screens for inspection and cleaning
- Remove boom end caps and inspect boom lines
- All suction and pressure lines were rinsed
- Agitation/Sparge
- Bypass
- Recirculation
- Eductor
- Note any leaks or problems that may need further attention
Once the wet system is thoroughly cleaned it is time to drain as much water from it as possible.
- Drain all low spots in the plumbing by removing lines or fittings
- Use inspection port or drain cock on pump to drain excess water
- Drain the rinse tank and if possible verify the operation of the check valve
- Remember to get all the lines
- Agitation/Sparge
- Bypass
- Recirculation
- Eductor
- Rinse tank
- Filters on suction and supply lines
- Drain all excess water from booms
- Remove end caps from booms or remove check valves, diaphragms, and tip from outlet from two end nozzles
- Tilt wings as high as they will go and allow water to drain out.
- Tilt centre section manually to allow water to drain out
- Drain any strainers on boom
- Don't forget the fence row nozzles
- Optional-Blow out booms and plumbing with compressed air
- It is easy to build an adapter that can be threaded into a strainer body or fitting to connect a compressor to to push excess water out.
- Use electric and manual valves to build adequate pressure to push out fluids
Add Winterizer Fluid and Fully Circulate
As a rough rule of thumb 1 Litre of Winterizer fluid should be used for every foot of boom. If your sprayer has more plumbing than average, a foam marker, or if you have lots of lines on your tendering system to winterize adjust volumes accordingly. Spray Frost Ultra comes in 1000L totes and 208L Drums for your convenience
-
The Most popular ways of adding winterizer fluid
- Using the eductor and pump on your tendering system
- Filling the rinse tank or solution tank on the sprayer using a nurse pump then circulating with sprayer pump
- Pulling Winterizer fluid on with the sprayer pump
-
The Least popular way to add winterizer fluid
- Hand Bomb
Once the winterizer fluid is in the sprayer
- Circulate through all the pressure lines
- Bypass
- Agitation/Sparge
- Tank rinse
- Eductor
- Pressure washer or spray wands
- Spray Through Booms one section at a time until strong concentration of winterizer is visible. Don't forget the fence row nozzles
At this point some people will drain the winterizer fluid others will leave it in the machine through the winter.
The benefit of draining it is that there will be a reduced chance of diluted winterizer fluid freezing and breaking parts.
The downside of draining the winterizer fluid is that it leaves rubber and metal parts exposed to air that can cause seals to dry out and crack and metal parts to corrode.
During the winter time you may see winterizer fluid push out through some fittings or nozzles it is typically ok. The product will turn slushy and expand somewhat but should not freeze hard enough to do any damage as long as it was not diluted by excess water in the wet system.
Thoroughly wash and clean the sprayer exterior. Application of coatings or waxes help to maintain machine value and makes it easier to clean next time it's done
EXTERIOR
- Wear a rain hat and coat or proper PPE
- Avoid directly pressure washing electronic sensors, actuators and valves as well as hydraulic components. Use a High volume low pressure nozzle to clean these effectively
- Make note of any damaged, loose, or leaking components
- A brush or physical scrub if possible to remove as much residue from smooth surfaces
- Make an effort to wash the spray boom structure to prevent premature corrosion
- Apply Rain-X or similar to windshields after cleaning to make them easier to clean in season
- Equipment coatings are available to reduce corrosion, make washing easier, and approve the appearance of your machine
INTERIOR
- Whatever dirt and chemical gets brought into the cab on you needs to be removed. So try to keep chemicals and dirt out in the first place.
- Remove dirty old papers and used nozzles or place them in a sealed container
- Vacuum excess dust and dirt
- Scrub the interior down with an actual cleaning product
- Be sure to get all the controls
- Leather seats may be tougher to clean if chemical has been absorbed into them
- Cloth seats should be steam cleaned or shampooed
- Change Cab and air recirculation filters in the spring
- Lubricate door and window seals to help keep the cab pressurized
Further Suggestions for winter storage
- Removing nozzle bodies and storing above freezing can help to extend seal life
- Nozzle body turrets can be removed, cleaned and greased with industrial silicone grease.
- Diaphragms on nozzle body check valves can be cleaned and sprayed with silicone lubricant to extend life
- Take pictures or note key calibration values for the sprayer and systems
- Remove monitors and electronics with LCD and/or touch screens and store at room temperature
- Disconnect or remove batteries to prevent parasitic run down
- Choosing a selection results in a full page refresh.